Creating the CryptoMiner Level: Part 2
The Burst Probe will start out as a copy of the standard Parity Probe. The way I have the system designed is that each level controls the launching of any probes to a spawner.
DevLog 20260419
In Part 1, I outlined the plan for developing the CryptoMiner level for my passion in progress: Project8088. Although the level isn't exactly finalized, it is in a state where I can move on to other aspects of the level's development.
Identify Phases
From Part 1:
...for each phase of the level, enemies will need to be defined as well as the phase areas. Phase walls will be used, like the Router levels, to contain the phase space.
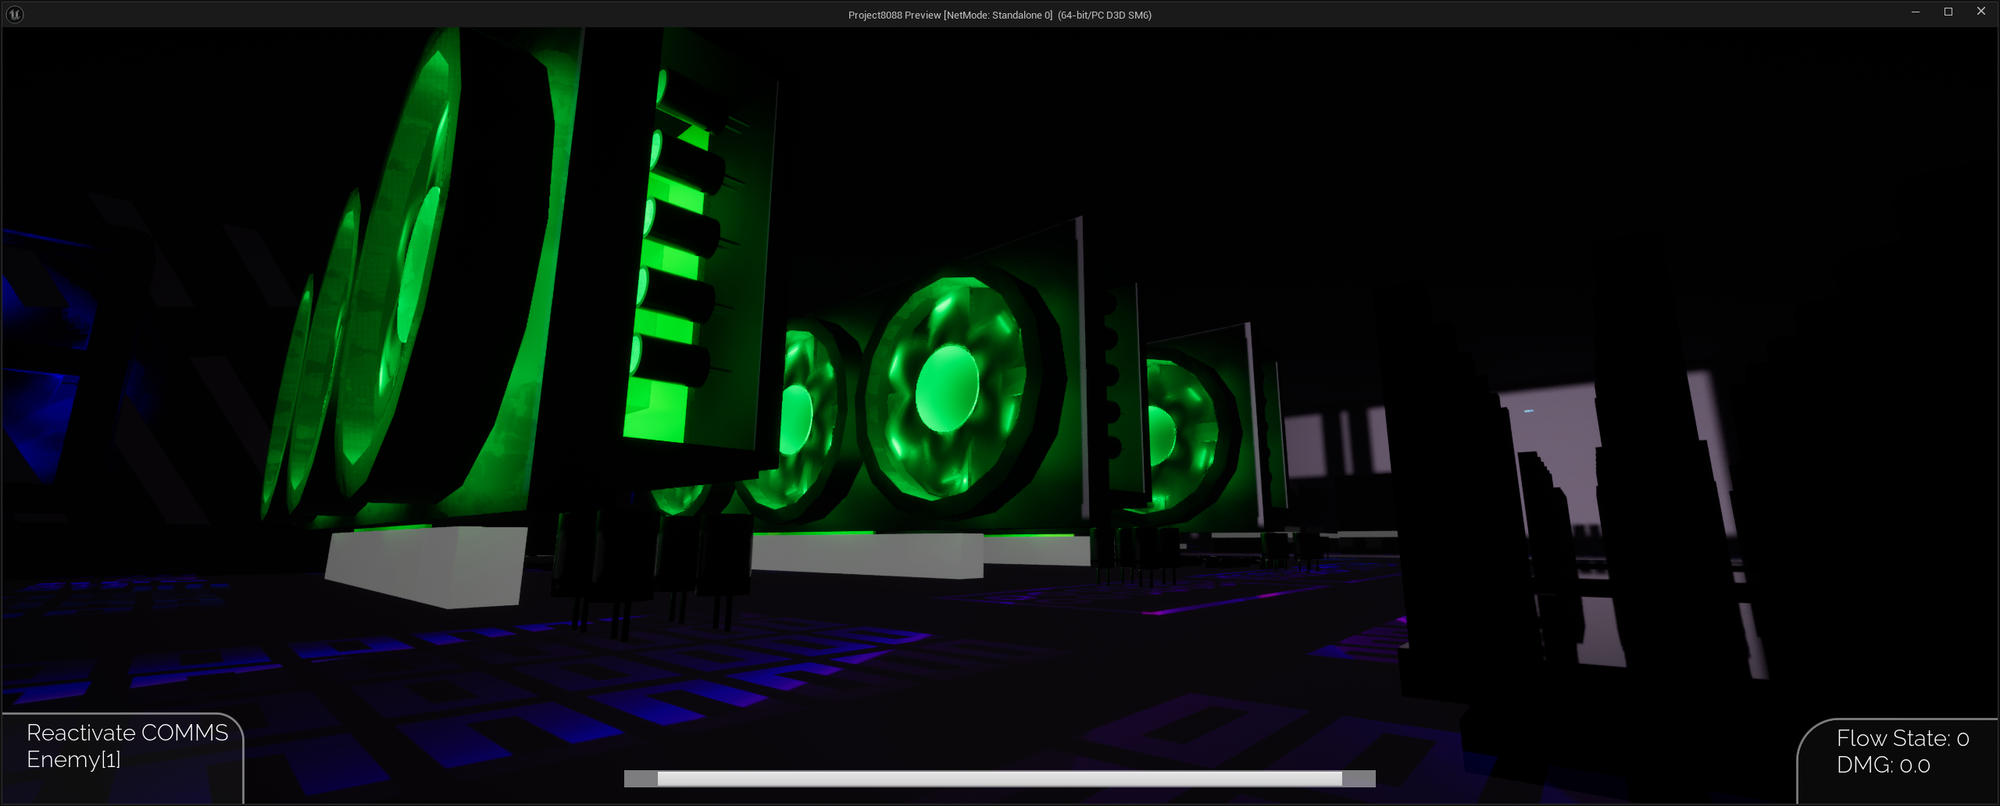
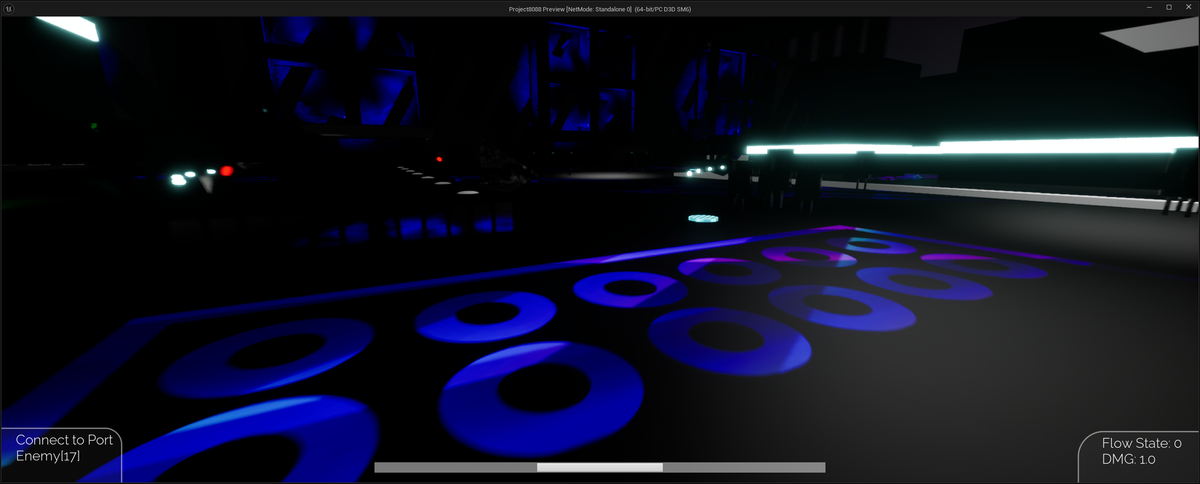
In reviewing this level, I don't really see a good way to break it down. There are some lanes that could be segmented off and maybe the CPU section as well, but those divisions don't seem natural within the context of the level. I think I will leave this open, but it will contain many waves of enemies.
Add a new enemy - coming off the GamingPC boss level, a new enemy should be introduced. At the moment, I am thinking of some type of exploding enemy - when their health reaches a certain threshold they explode with the player taking field damage.
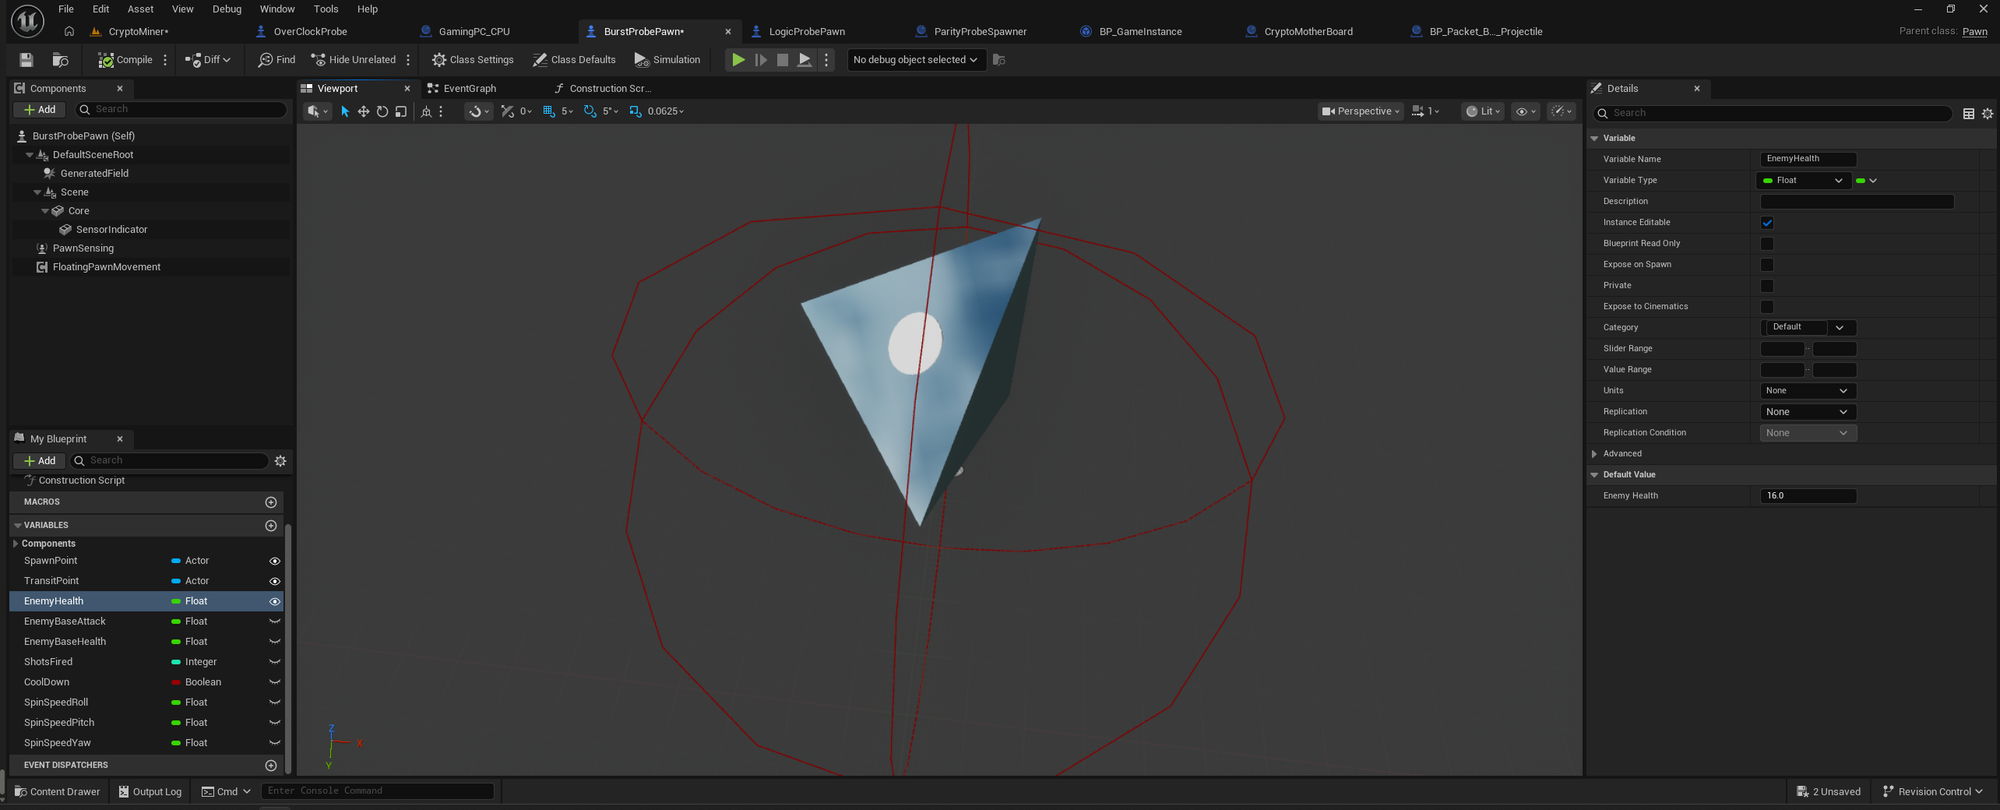
Since all the enemies have been defensive in nature, it might be a good time to introduce an offensive probe. The new enemy is going to be a Packet Burst Probe. It will initially be set to fire four projectiles in sequence toward the player. It will have high health and each projectile will have medium hit damage.
The Burst Probe will start out as a copy of the standard Parity Probe. The way I have the system designed is that each level controls the launching of any probes to a spawner. Which probes and which spawners are involved is determined by the Phase Rules. When a new enemy type is added to the game, a few things need to happen. First, it's gets added to the Phase Rules as an integer. Then the probe spawner gets updated with the new enemy type. The level blueprint's function to process phases gets updated to handle the new enemy so it can be spawned. Once that is all set up, the new enemy can be spawned in any level that accounts for it. And since I copy levels progressively, all enemies are accounted for.
The next step was to create a projectile for the Burst Probe to fire. This is basically defined as an actor blueprint. Right now, it's a small sphere. Since the probe is "bursts," the probe's blueprint has been wired up to fire four probes at once with a 4 second cool down before it can fire again. PawnSensing against the player character is used to determine if the probe fires. When it does, it will fire in the current direction of the player.
Since I am not a designer by nature, I try to keep my designs very simple. In this case, I decided on the a pyramid shape for the Packet Burst probe. The sensing indicator is now just a small dot in the center of one of the faces.
The probe uses PawnSensing to determine of the player is nearby. And if they are, it executes the FirePacket event. This is the same process that other probes have followed except for the action of firing something at the player.
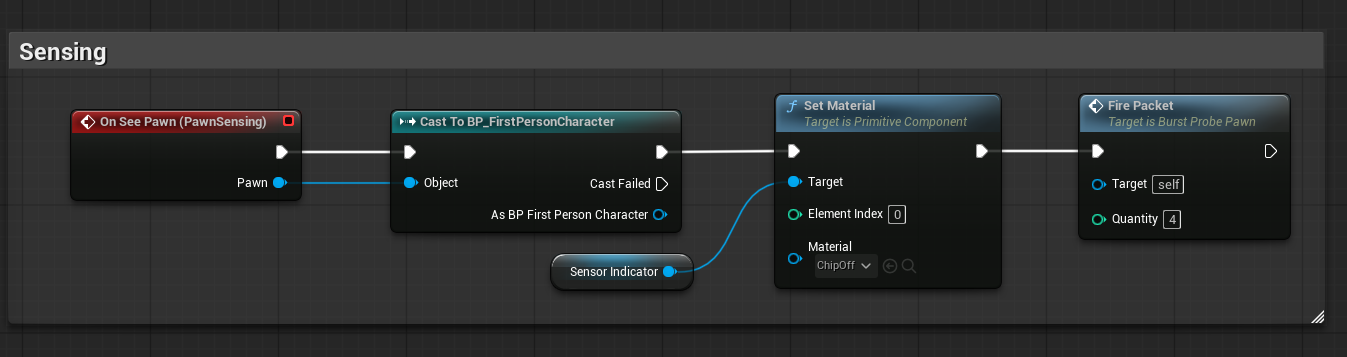
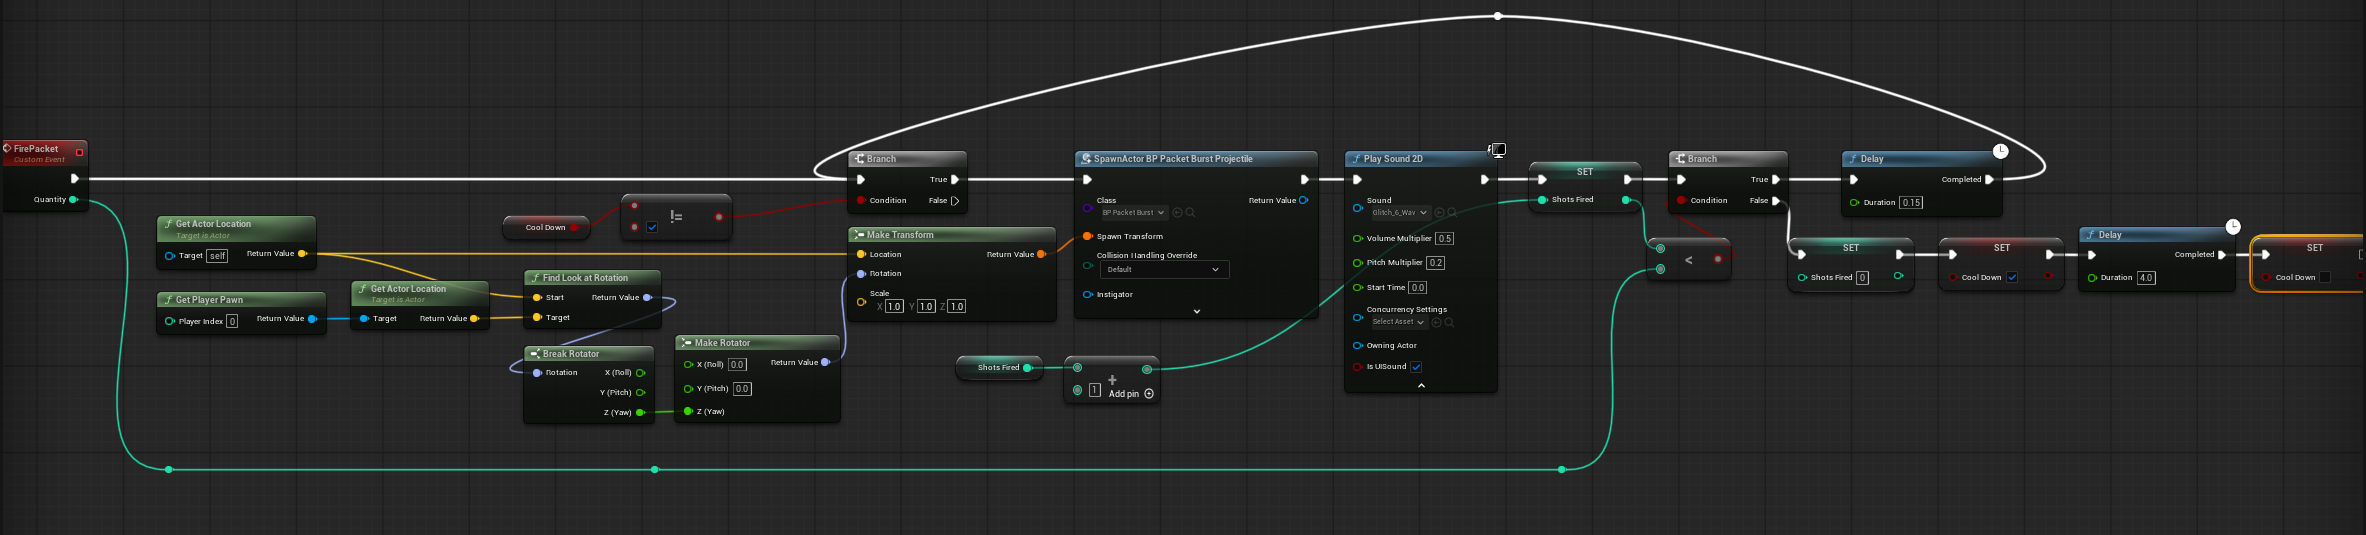
The FirePacket does some work to get the probe's location. It then checks to see if the probe is in a cool down period which is initially four seconds. In later levels this may be augmented to fit the gameplay, e.g. a more aggressive probe, player buff the lengthens the cool down period.
If the probe is not in cool down, it spawns a projectile toward the player. it will continuing doing this until four projectiles have been sent. Between each projectile, there is a .15 second delay to space them apart. After 4 are fired, the probe enters the cool down period. Once the delay is over, the cool down resets and the player can be targeted again. The video below demonstrates some gameplay of the over all effect.
In part 3, I'll talk about a new gameplay mechanic, the phase structure, the new buff, and most importantly, the reason for the player to be there.